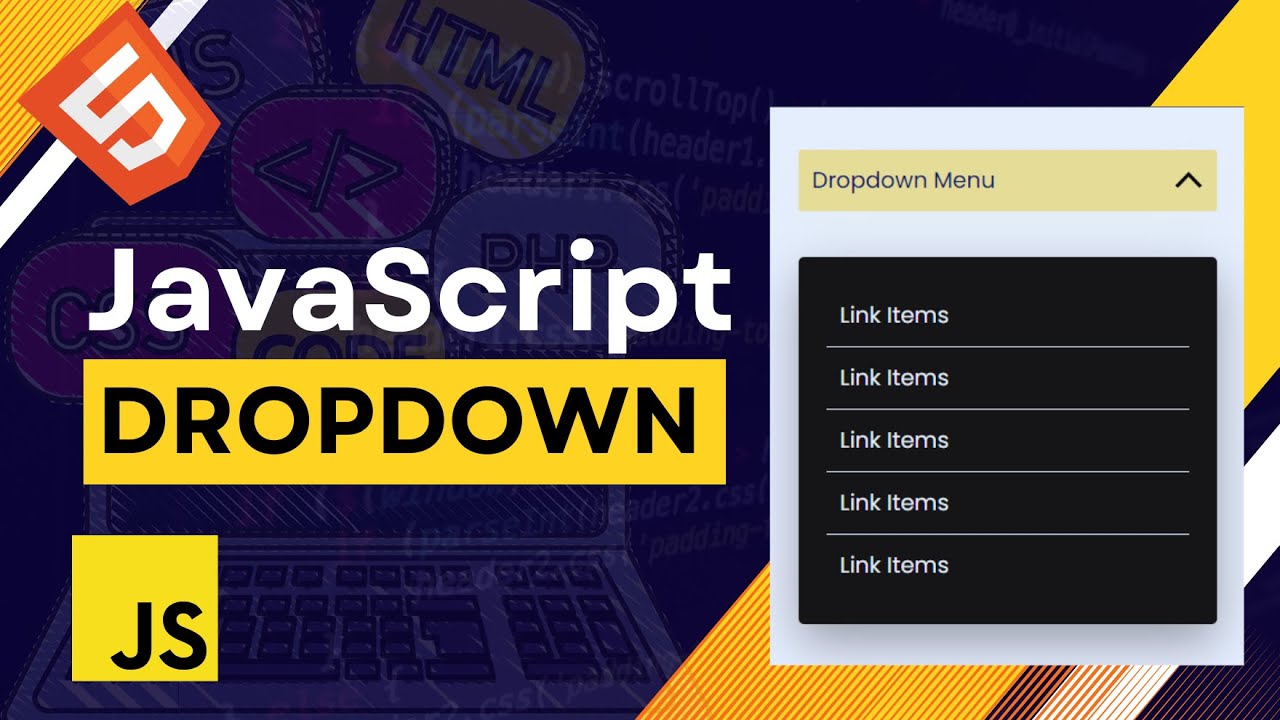
Are you looking to enhance your web design skills? In this step-by-step tutorial for Create a Custom Navigation Menu Dropdown with JavaScript, we’ll guide you through the process of building a custom navigation menu dropdown using JavaScript. With our provided source code, you’ll be able to follow along and create a sleek and modern dropdown menu that will take your website to the next level. Whether you’re a beginner or an experienced developer, our instructions are easy to follow and understand. Don’t settle for a boring navigation menu – watch this tutorial and start creating your custom menu today!
Table of Contents
Video Tutorial of Custom Dropdown Tutorial: JavaScript, HTML, and CSS Made Easy
If you prefer video tutorials, you can check out the accompanying video tutorial for this post by visiting the link provided. You can also subscribe to my YouTube channel for more projects related to HTML, CSS, and JavaScript. I post new content regularly, so make sure to hit the subscribe button to stay updated
If you’re new to creating Custom Dropdown or would like additional guidance, I highly recommend watching the accompanying video tutorial. It provides a step-by-step walkthrough of the process and helps you understand the HTML, CSS, and JavaScript code involved in creating this sidebar menu. Whether you’re a beginner or an experienced developer, the video tutorial can be a valuable resource to enhance your skills and knowledge.
Getting Started: Setting Up the HTML Structure for the Dropdown Menu
Learn how to create a dropdown menu using HTML, CSS, and JavaScript with these step-by-step instructions. By following these steps, you can create a custom dropdown menu that’s both functional and visually appealing. Whether you’re a beginner or experienced developer, this tutorial will guide you through the process of building a dropdown menu from scratch.
Begin by creating a new folder with a name of your choice. Within this folder, you’ll need to create several files in order to build your custom dropdown menu. These files include an HTML file, a CSS file, and a JavaScript file. For the HTML file, be sure to name it ‘index‘ and give it the extension ‘.html’. Likewise, the CSS file should be named ‘style’ with the extension ‘.css‘, and the JavaScript file should be named ‘script’ with the extension ‘.js’. Once you’ve created these files, you’re ready to move on to building and styling your dropdown menu.
After creating the necessary files, copy and paste the provided code into the corresponding files. If you prefer not to do this manually, you can simply download the source code files for the Sidebar Menu by clicking the download button below. With the source code files in hand, you can skip the copying and pasting steps and get started building and customizing your own dropdown menu right away.
To begin, copy and paste the following code into your index.html file
<!DOCTYPE html>
<html>

<head>
  <title>Sanjay</title>
  <meta charset="UTF-8" />
  <meta http-equiv="X-UA-Compatible" content="IE=edge" />
  <meta name="viewport" content="width=device-width, initial-scale=1.0" />
  <link rel="icon" href="assets/img/favicon_light.png" sizes="32x32" type="image/png"
    media="(prefers-color-scheme: dark)" />
  <link rel="icon" href="assets/img/favicon_dark.png" sizes="32x32" type="image/png"
    media="(prefers-color-scheme: light)" />
  <link rel="stylesheet" href="assets/css/style.css" />
  <script src="https://code.iconify.design/1/1.0.4/iconify.min.js">   </script>
  <link rel="stylesheet" href="https://cdn.jsdelivr.net/npm/bootstrap@5.2.3/dist/css/bootstrap.min.css" />
</head>

<body>

<div class="container">
<div class="row">
      <div class="col-md-6">
        <!-- custom-dropdown -->
        <div class="custom-dropdown">
          <div class="dropdown-btn" id="first-button" onclick="onClick('first')">
            Dropdown Menu <img class="arrow" src="assets/img/arrow.png" />
          </div>
          <div class="dropdown section-dropdown" id="first-content" style="display: none">
            Sanjay
          </div>
        </div>
        <!-- custom-dropdown -->
      </div>
      <div class="col-md-6">
        <!-- custom-dropdown -->
        <div class="custom-dropdown">
          <div class="dropdown-btn" id="second-button" onclick="onClick('second')">
            Dropdown Menu <img class="arrow" src="assets/img/arrow.png" />
          </div>
          <div class="dropdown section-dropdown" id="second-content" style="display: none">
            Sanjay
          </div>
        </div>
      </div>
    </div>
</div>

    <script src="https://cdnjs.cloudflare.com/ajax/libs/jquery/3.1.0/jquery.min.js"></script>
  <script src="assets/js/index.js"></script>
  <script></script>
</body>
</html>
To begin, copy and paste the following code into your style.css file
body {
  background-color: #1f2029;
  font-family: Arial, Helvetica, sans-serif;
  margin-top: 20px !important;
}
.custom-dropdown {
  position: relative;
}

.custom-dropdown img {
  transform: rotate(180deg);
}
.custom-dropdown .active img {
  transform: rotate(0deg);
}

.custom-dropdown .arrow {
  max-width: 20px;
}

.custom-dropdown .section-dropdown {
  padding: 20px;
  background-color: #111;
  width: calc(100% - 40px);
  border-radius: 4px;
  box-shadow: 0 14px 35px 0 rgba(9, 9, 12, 0.4);
  z-index: 2;
  pointer-events: none;
  transform: translateY(20px);
  transition: all 200ms linear;
  min-height: 200px;
  color: #fff;
  position: absolute;
  top: 57px;
}

.custom-dropdown .dropdown-btn {
  background-color: #ffeba7;
  color: #102770;
  box-shadow: 0 12px 35px 0 rgba(255, 235, 167, 0.15);
  border-radius: 2px;
  padding: 10px;
  display: flex;
  align-items: center;
  justify-content: space-between;
  cursor: pointer;
  font-family: inherit;
}
To begin, copy and paste the following code into your index.js file
//   custom-dropdown ===================================================

// const onClick = (id) => {
//     const x = document.getElementById(`${id}-content`);
//   if (x.style.display === "none") {
//     x.style.display = "block";
//     $(`#${id}-button`).addClass("active");
//   } else {
//     x.style.display = "none";
//     $(`#${id}-button`).removeClass("active");
//   }
// };

const onClick = (id) => {
  const x = document.getElementById(`${id}-content`);
  x.style.display = x.style.display === "none" ? "block" : "none";
  $(`#${id}-button`).toggleClass("active");
};

// custom-dropdown end ===================================================


