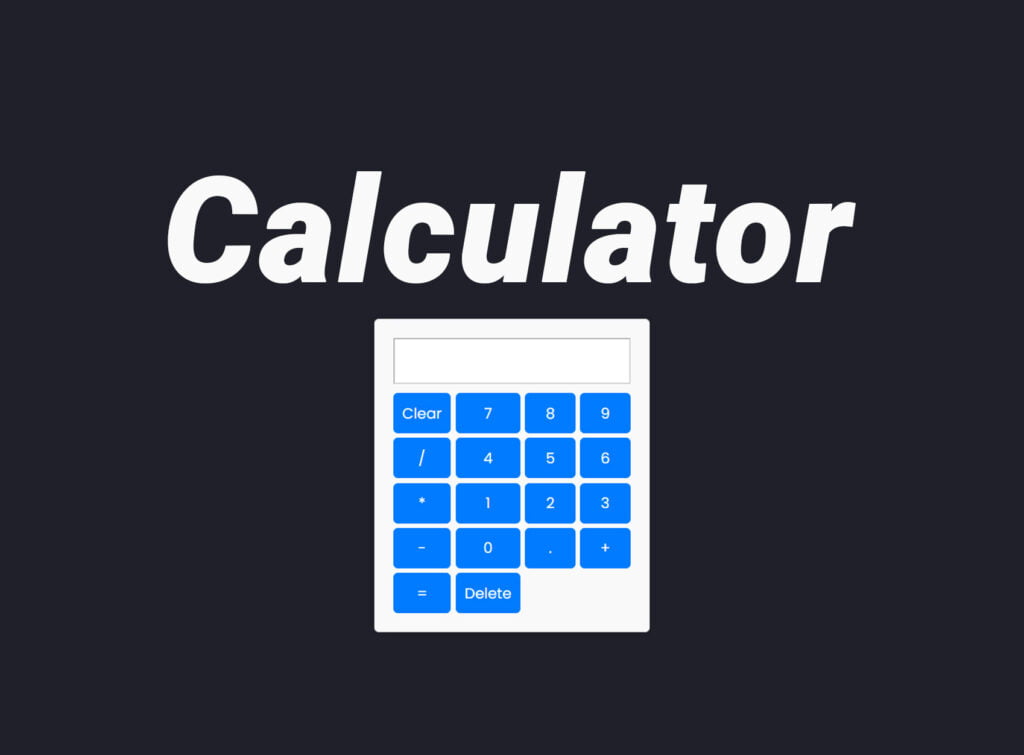
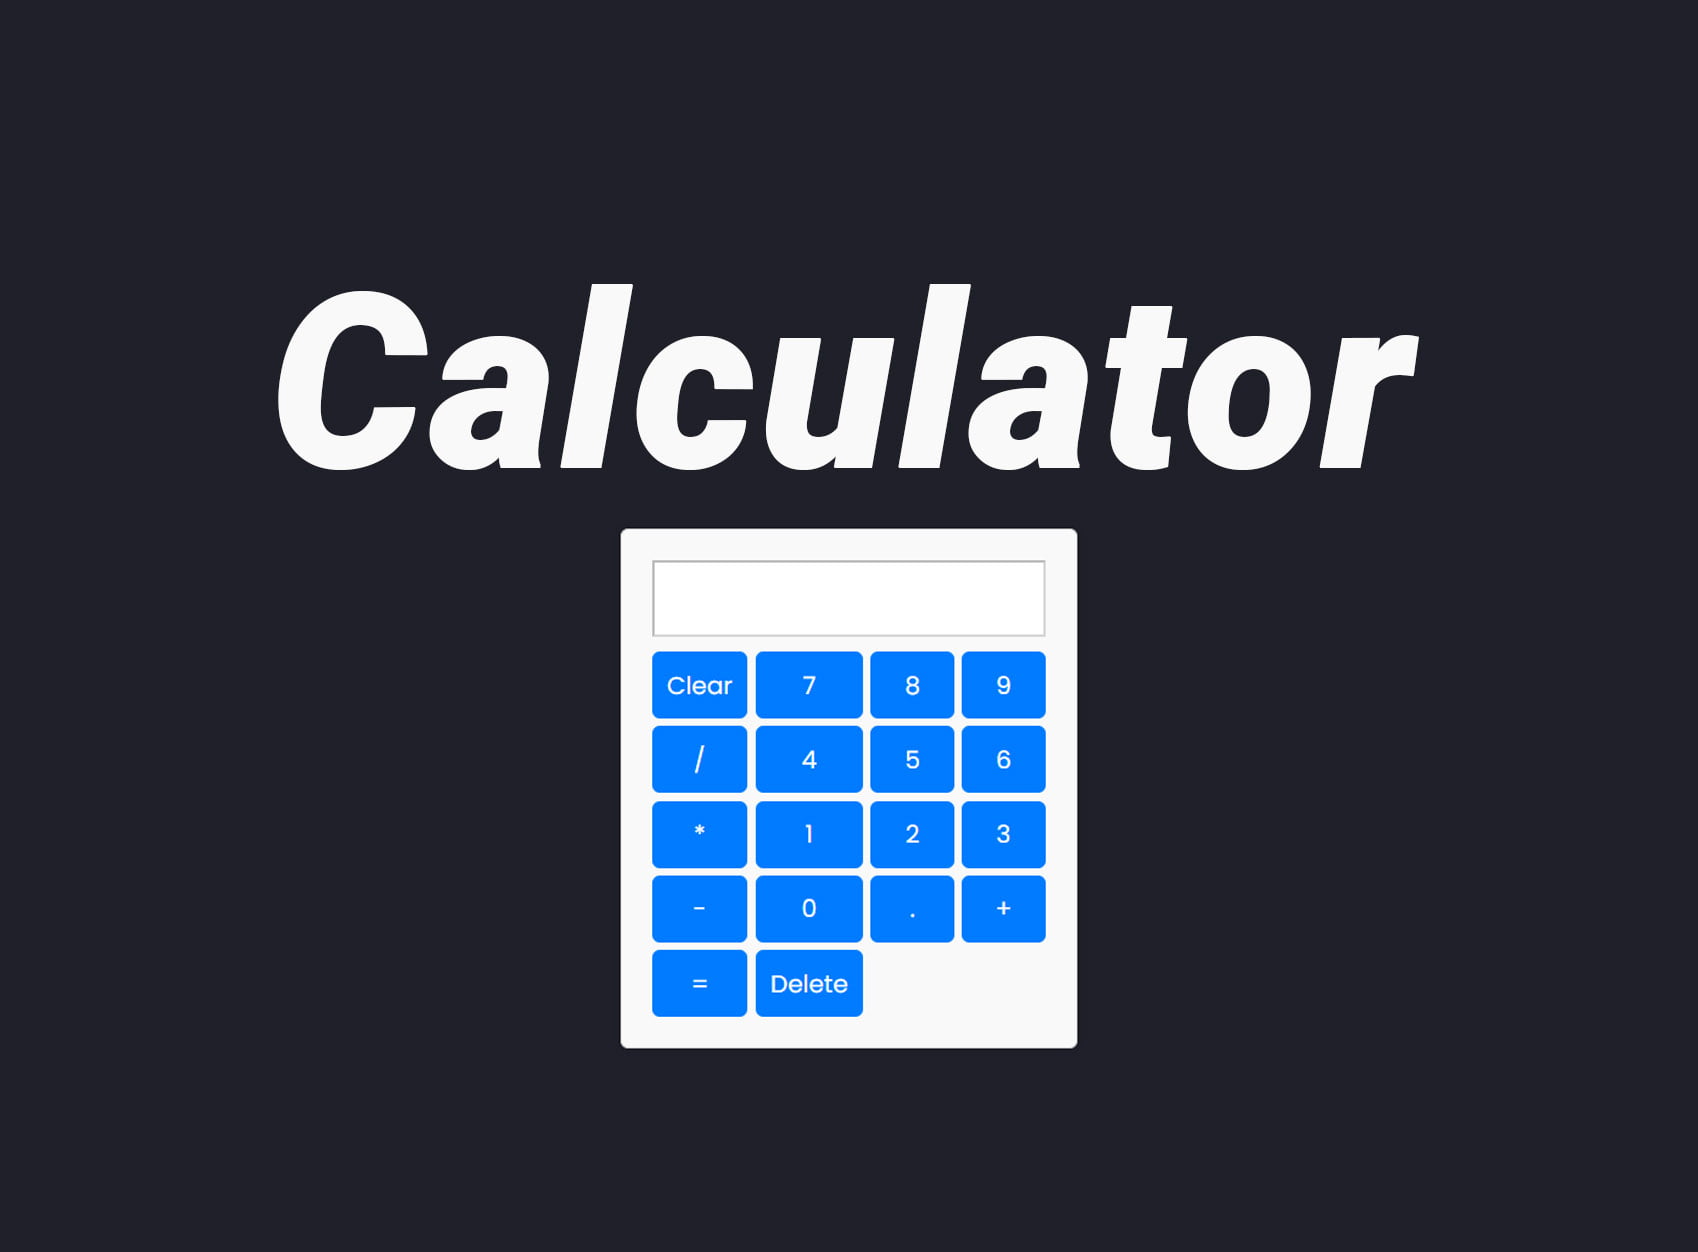
Learn how to build a JavaScript calculator step-by-step. From setting up the basic file structure with HTML, CSS, and JavaScript to designing the user interface and adding functionality, this guide will help you create a fully functional calculator for your web projects.

JavaScript Calculator
JavaScript Calculator
In the realm of web development, JavaScript stands as one of the most versatile and essential programming languages. Its ability to manipulate the Document Object Model (DOM) makes it a powerhouse for creating dynamic and interactive web applications. One such application is a calculator, a fundamental tool found in numerous websites and applications. In this step-by-step guide, we’ll walk through the process of building a JavaScript calculator, empowering you to enhance your skills and create a useful tool for your projects.
Step 1: Setting Up Your Environment
Before diving into coding, it’s crucial to set up your development environment. You’ll need a text editor or an Integrated Development Environment (IDE) like Visual Studio Code, along with a web browser for testing your application. Create a new folder for your project and set up the basic file structure with HTML, CSS, and JavaScript files.
Before diving into coding, it’s crucial to set up your development environment. Follow these steps to create the basic file structure for your JavaScript calculator project:
1.1 Create a Project Folder
Start by creating a new folder for your project. Name it something descriptive like “JavaScript Calculator” to keep your workspace organized.
1.2 HTML File
Inside your project folder, create an HTML file. This file will serve as the entry point for your calculator application. You can name it index.html.
<!DOCTYPE html>
<html lang="en">
<head>
    <meta charset="UTF-8">
    <meta name="viewport" content="width=device-width, initial-scale=1.0">
    <title>JavaScript Calculator</title>
    <link rel="stylesheet" href="styles.css">
</head>
<body>
    <!-- Calculator UI will be built here -->
    <script src="script.js"></script>
</body>
</html>
1.3 CSS File
Next, create a CSS file to style your calculator. Name it styles.css and save it in the same project folder.
/* styles.css */

/* Add your CSS styles here */
1.4 JavaScript File
Finally, create a JavaScript file to add functionality to your calculator. Name it script.js and save it in the project folder.
// script.js

// Add your JavaScript code here
By setting up the basic file structure with HTML, CSS, and JavaScript files, you’ve established the foundation for building your JavaScript calculator. In the subsequent steps, we’ll delve into designing the user interface, adding functionality, and refining the calculator to create a fully functional and interactive tool.
Step 2: Designing the User Interface
A calculator’s user interface typically consists of buttons for numbers, operators, and a display to show the input and output. Begin by structuring the HTML markup for these elements. Utilize <div> elements to group different sections such as buttons and the display screen. Assign appropriate IDs and classes for easy access in JavaScript.
<!DOCTYPE html>
<html>

<head>
  <title>HTML JavaScript</title>
  <meta charset="UTF-8" />
  <meta http-equiv="X-UA-Compatible" content="IE=edge" />
  <meta name="viewport" content="width=device-width, initial-scale=1.0" />
  <link rel="stylesheet" href="assets/css/style.css" />
</head>

<body>
  <div class="container">
    <div class="calculate">
      <input id="display" type="text" disabled>
      <div class="buttons">
        <button onclick="clearDisplay()">Clear</button>
        <button onclick="append('7')">7</button>
        <button onclick="append('8')">8</button>
        <button onclick="append('9')">9</button>
        <button onclick="append('/')">/</button>
        <button onclick="append('4')">4</button>
        <button onclick="append('5')">5</button>
        <button onclick="append('6')">6</button>
        <button onclick="append('*')">*</button>
        <button onclick="append('1')">1</button>
        <button onclick="append('2')">2</button>
        <button onclick="append('3')">3</button>
        <button onclick="append('-')">-</button>
        <button onclick="append('0')">0</button>
        <button onclick="append('.')">.</button>
        <button onclick="append('+')">+</button>
        <button onclick="calculate()">=</button>
        <button onclick="deleteDisplay()">Delete</button>
      </div>
    </div>

  </div>

  <script src="assets/js/index.js"></script>
</body>

</html>
Step 3: Styling with CSS
/* @import url("https://fonts.googleapis.com/css2?family=Poppins:wght@300;400;500;600&display=swap"); */

* {
  margin: 0;
  padding: 0;
  box-sizing: border-box;
  font-family: "Poppins", sans-serif;
}

body {
  background-color: #1f2029;
  font-weight: normal;
  color: #fff;
}

/* Common*/
.container {
  max-width: 900px;
  margin: 0 auto;
}

#click {
  cursor: pointer;
}

.buttons button {
  padding: 10px;
  cursor: pointer;
}

.calculate input {
  margin-bottom: 20px;
  min-height: 35px;
  background-color: #fff;
  padding: 10px;
  display: flex;
}


.calculate {
  width: 300px;
  margin: 50px auto;
  padding: 20px;
  border: 1px solid #ccc;
  border-radius: 5px;
  background-color: #f9f9f9;
  box-shadow: 0 0 10px rgba(0, 0, 0, 0.1);
}

#display {
  width: 100%;
  padding: 10px;
  margin-bottom: 10px;
  font-size: 18px;
}

.buttons {
  display: grid;
  grid-template-columns: repeat(4, 1fr);
  gap: 5px;
}

button {
  padding: 10px;
  font-size: 16px;
  border: none;
  border-radius: 5px;
  background-color: #007bff;
  color: #fff;
  cursor: pointer;
}

button:hover {
  background-color: #0056b3;
}

button:active {
  background-color: #0056b3;
  transform: translateY(1px);
}
Enhance the visual appeal of your calculator with CSS. Apply styles to the buttons, display screen, and overall layout to make it user-friendly and visually appealing. Experiment with colors, fonts, and sizes to create a design that suits your preference or matches the theme of your website.
Step 4: Adding Functionality with JavaScript
The heart of your calculator lies in its JavaScript functionality. Start by defining variables to store user input, operators, and the result. Then, create event listeners for the buttons to capture user interactions. For numeric buttons, append the clicked number to the input display. For operator buttons, perform calculations based on the input and display the result.
const display = document.getElementById('display');

function append(value) {
    display.value += value
}

function clearDisplay() {
    const newValue = display.value;
    const currentValue = newValue.slice(0, -1);
    display.value = currentValue;
}


function calculate() {
    if (display.value === "") {
        alert("please enter number");
    }

    let result = eval(display.value);
    display.value = result;
}

function deleteDisplay() {
    display.value = '';
}
Step 5: Implementing Operations
A standard calculator supports basic arithmetic operations such as addition, subtraction, multiplication, and division. Implement functions in JavaScript to handle these operations based on user input. Remember to account for edge cases such as division by zero or consecutive operations without pressing the equal button.
Step 6: Handling Clear and Reset
Provide users with the ability to clear the current input or reset the calculator entirely. Implement functions to handle these actions, ensuring a smooth user experience. Clearing the input should reset the display, while resetting the calculator should clear all stored values and return it to its initial state.
Step 7: Testing and Debugging
Testing is a crucial phase in software development to identify and fix any issues or bugs. Thoroughly test your calculator by performing various calculations and scenarios, including both valid and invalid inputs. Use browser developer tools to debug JavaScript code and ensure smooth functionality across different browsers and devices.
Step 8: Refining and Optimizing
Optimize your calculator for performance and user experience. Refactor your code to improve readability, efficiency, and maintainability. Consider implementing additional features such as memory functions, decimal point support, or keyboard input for enhanced usability.
Step 9: Documentation and Deployment
Document your code to make it understandable for yourself and others who may work with it in the future. Provide clear comments, explanations, and usage examples. Once satisfied with your calculator, deploy it to a web hosting service or integrate it into your existing website or application.
Check out my profile.
Conclusion
Building a JavaScript calculator is an excellent way to enhance your web development skills while creating a practical and interactive tool. By following this step-by-step guide, you’ve learned the essential aspects of designing, developing, and deploying a calculator using HTML, CSS, and JavaScript. Continue to explore and experiment with different features and functionalities to further expand your expertise in web development.


